Friday, September 17, 2010

~a little Friday inspiration & a whole lot of jane~

hello everyone!

just a quick hi & some pretty Friday
inspiration for you!

first up.....because I wish my sewing room
looked this fabulous!!!

I don't know what I like more,
the chrome chair, the painted floors (really?;))
or the cute little trashcan......


ok, OR the darling vintage sewing machine....
OR
the little bin w/ wheels...
OR
that cute little table.  OK  I guess I love it ALL.

~*~

here's another cute little work table
now that has got to be the most awesome
 light fixture....
I'd love to find me one of those!


and because I'd love to still be sleeping in a wonderful bed such as this......
and I think I've even
posted this picture before, but is it
not worth swooning over some more?


or this one would also work for me.....


look at those awesome floors.....
and I do believe that is a big-o pole
right the middle of the room....
ya see it there?
built in coat rack!

~*~

now you weren't expected any rhyme or reason
from me today were you?

good ~ cuz I don't have any.

how about this living room?
I kinda like it.
what about the palm leaf in the vase?
hmmmm....I guess it gives it kind of a beach
feel ~ ok....


I like the large-ness of the coffee table...
I do not have a coffee table
~gasp~
and it's getting quite annoying not having
something fabulous to arrange all the cool
stuff I find on.....
{I am certain that was a huge run-on sentence but I'm lettin'
it ride today....;)}

~*~

ok new subject.....
"what I've been watching while working on
pillows & dust ruffles......"


do you recognize this cottage?


I have watched sooooooooooooooooooo
many Jane Austen movies in the last couple weeks...

 the cottage is from Sense & Sensibility,
the Hugh Grant, Emma Thompson, Kate Winslet
version.

love that movie.....if you have not,
for some unimaginable reason, seen it
go get it today!!
you don't even want to know how many times
I've watched it. 


but I also like to watch the BBC version
with David Morrissey, Janet Me Teer & Hattie Morahan.  Also very good ~ 3 full hours of goodness.


and watch
my beloved Jane Eyre
almost 4 hours of fabulous-ness


and of course Pride & Prejudice
6 hours of Mr. Darcy and Elizabeth Bennett....


Mr. Ticking and Toile much prefers
the Kiera Knightly version.....
well, yes, I like it too, but it's toooooooo short!!
but the proposal at the end is magnificent.....

and the music is totally totally totally
amazing~ in fact I had the soundtrack on my blog
when I firsted started ~ because it is so beautiful
I could listen to it non-stop.


let's see what else I've watched or have tried
to watch........

well I've tried to watch many of these
but really have a hard time getting into it.


I was about 2/3rd's the way thru
Pride & Prejudice 
{it's at least 4-6 hours of very bad acting}

and Mr. T & T turned it off saying it was
the worst EVER.

{just so ya know, he isn't all huffy like that...he just
knew I wasn't loving it while I was sort of watching it....;) }

I couldn't disagree....I just wanted to see if I could
get thru it....

I am now trying to get thru some Charles Dickens
"Bleak House"


and it is also 6 hours.....Dickens is hard
to focus in on, but I'm working on it.

I should have bought the Gillian Anderson
version, but $6 was a lot less than $30!

I watched this too,
an old standby...


which is great ~  but ...um....well....
it's not an 18th century love story....
.............is there anything else?

well yes....I do have an open mind to other
genre's.  I also watched this....

Yes, I know technically it's kinda the same genre as all the Jane Austen's..... but, it's pretty good too.  Have you seen it?
I'd love to get your opinion on it.

~*~

well I hope you all have a wonderful weekend,
if I've missed a super fabulous movie you think
I must see, please let me know!!


xoxo,


Shellagh


{interior images by Coastal Living and Tumblr}

Friday, September 10, 2010

~slipcovered headboard tutorial~

Hello there everyone!

Happy Friday!
Are you all ready for the weekend?

Whatever you're doing ~ I hope you
have fun!

I seriously cannot believe
it is almost the middle of September....
wow!

~*~

You may remember my post not
too long ago regarding the tufted
headboard...??
{click here to read about it}

so I wasn't loving it~ nope ~
just wasn't liking the chenille
or the shape....

so I started over.......

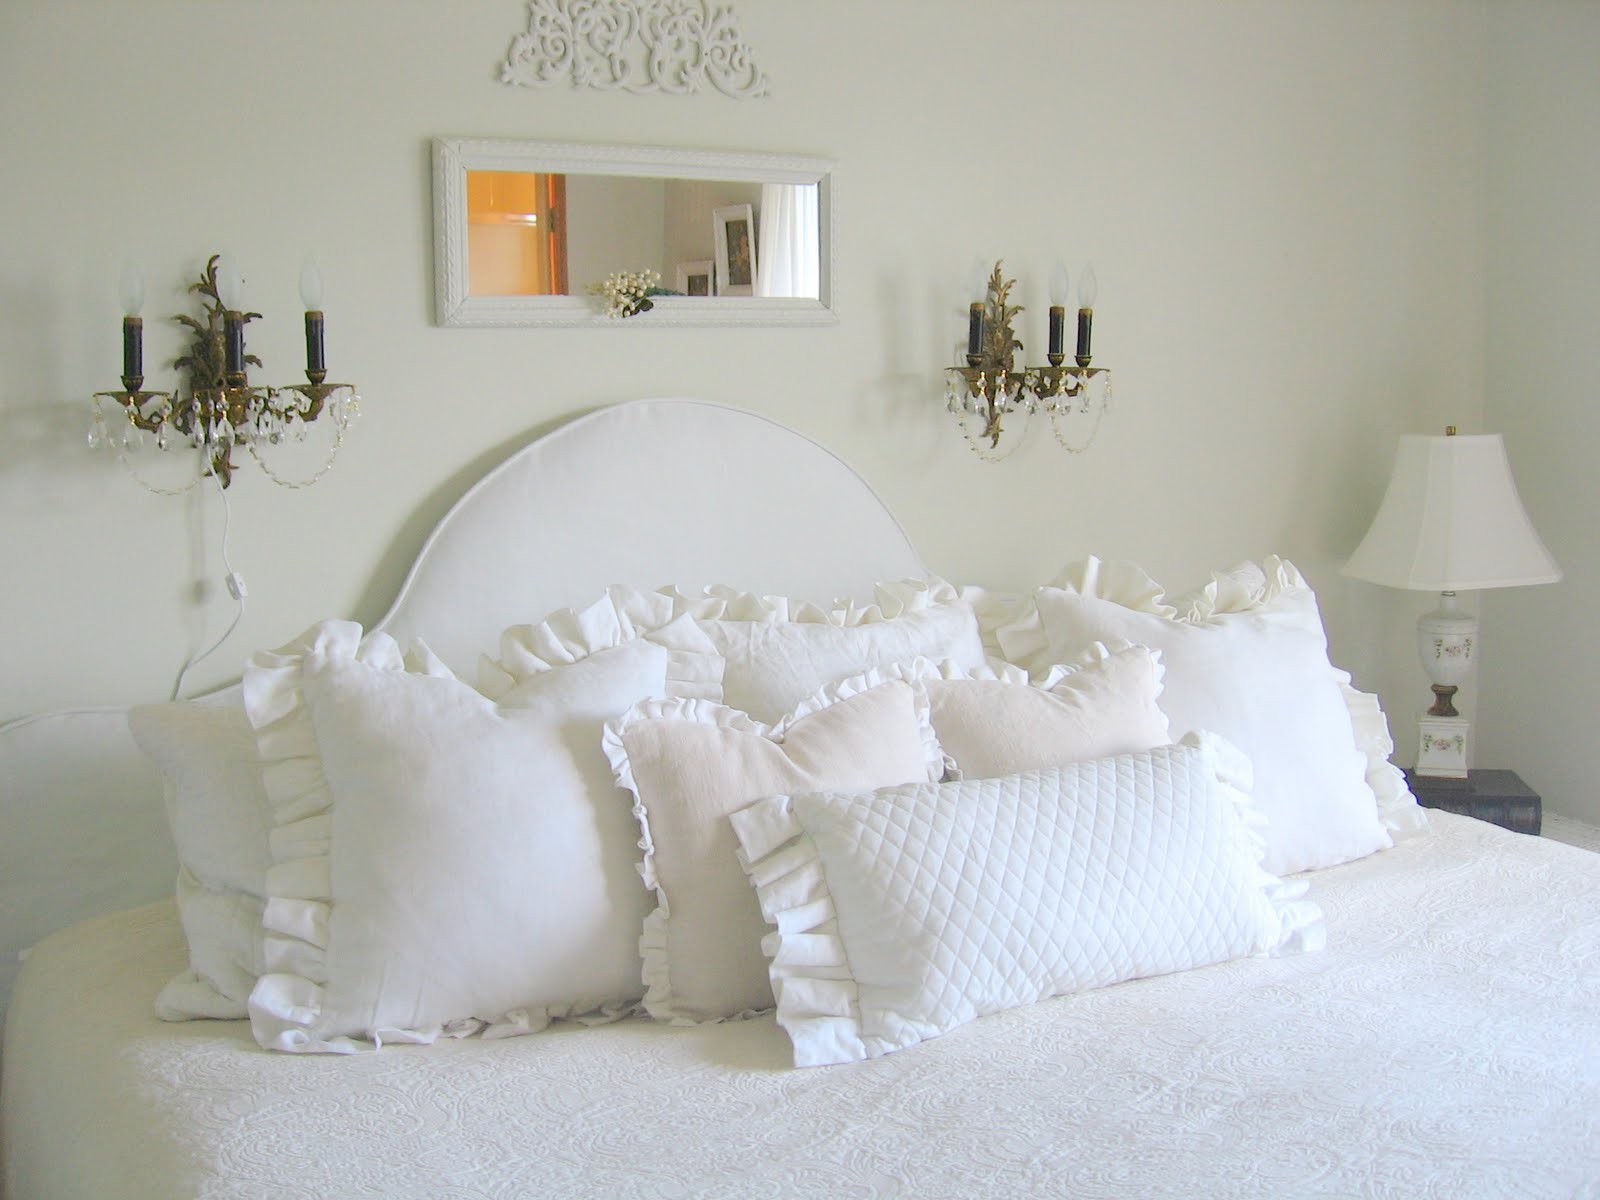
 and this is the current and
latest version of our headboard...
slipcovered in white....


I know it seems absolutely nutty
to completely scrap the first &
start ALL over again.....but.....
I'm so glad I did.


so here's the process....


{in case you get the urge....}


It basically starts the same as the tufted headboard ~

you need some plywood & a shape
you like....

This was my inspiration photo ~
love this room!!

{& the house that goes with it for that matter....
click here to see the whole house}


I painstakingly drew my design....
{used various household items to try to get
the shape just right}
and traced it onto my plywood

{hmmmm, I do believe that is a pile of laundry
on the couch back there......}


now it's time for the batting...again...
roll it out & staple it on


pre-wash your fabric and get ready to pin!

big hint:  if you don't want seams
down both sides in the middle
like I did.....*cough cough*

make sure you buy enough fabric.....ahem....
;)

but since I was in a hurry
because I had already spent
so much time on headboard #1
I decided to live with it......hence
the seams.....


so for this step just lay your fabric over
the headboard & loosely cut around
the shape....at this time it's not about precision,
it's about cutting off all the bulky extra fabric you
don't need.

now once you get all the excess trimmed off ~
you pin it into place for a snug fit...


now that you've got it pinned into shape
and smoothed out ~

*note *
I chose not to cover the back in the same fabric....
knowing it would be against a wall, I covered the back in a lightweight white bedsheet.
{el cheapo, ya know}

so at this point you can just stitch the 2 sides together,
or you can decide to add piping like I did ~
I love me some piping...

so off to the sewing machine....
if you'd like to know how to do piping...
click here for a look


pin the piping on &
stitch it in place and voila!
headboard is done!


ok....not really....


but this is where the tutorial pictures end.....
well....I musta got hasty and just forgot
to take the rest....whoops!


this is what we did: (Mr. T & T~ and I supervised...;)

we picked up an 8 foot 1x4 and cut it
in two.  We eyeballed (is that a real word?)
about how high we wanted the headboard to
sit & screwed the 1x4's into the back one
on each side.

Then just slipped the cover over the headboard
and pushed the bed up against it!

now it's done!


and it's my bedtime....


good night all!


xoxo,


Shellagh

Tuesday, September 7, 2010

~english farmhouse~

Good morning!

.....rain.

wet.

rain.


well if this doesn't get my mind straight
for school starting tomorrow ~
nothing will!!

I came across this charming English farmhouse,
too darling not to share!

I guess it actually started as 2 little cottages
and they converted it to one.
~*~
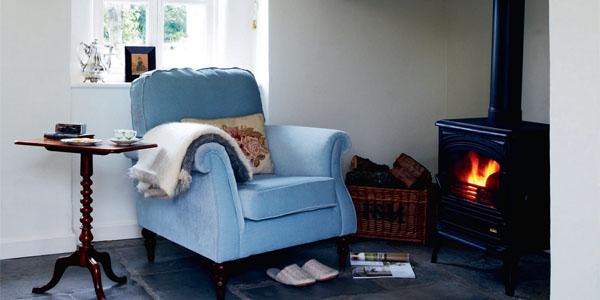
How about cozying up to a nice fire
this morning for a little cup of tea
and a browse through a favorite magazine?


ya' know, I think the home we're in
now is the 1st one we've owned without
*gasp* a fireplace.....

I've always wanted to add one....

 my good friend actually just put one in *exactly* like
the one above & they love it.


this home is just so charming & cozy....


love those floors.....
what fabulous patina, huh?


ok....now my favorite detail in the kitchen....
a sofa.....right there to lounge on while gathering
in the kitchen....how wonderful!


I've always loved the idea of comfy chairs
near the kitchen for just that sort of thing,
but this is just so neat.

I am really loving the farmhouse doors
throughout the home~

Their bedroom is nice and neutral....
~with a simple headboard...someone could
easily duplicate!!

{as promised...headboard slipcover tutorial up next!}


more reinforcement of what I need to do in our bathrooms....yep....pronto....

so darling, no?


and the thing about putting sinks into
various pieces of furniture....
it's just not that hard!
so why do I stall?
hmmmmmmm..........


 I wonder if that's an original
pump & well?  probably huh?

looks like the set of a Jane Austen movie....

I'm moving in......

and then I'll start wearing those sweet
cotton dresses like Elizabeth does....
with little boots....


Enjoy your week!


xo,


Shellagh


{all images from Period Living}

Monday, September 6, 2010

~tufted headboard tutorial~

hello there!

can you say, "smells like fall around here?"


yep, it does......

rats.......

I need to get over it....

2 more days & the kids are
back in school...

double rats......

anyhoo.....
the weather is lovely but cooling off for sure
(well it's not like it was blazing hot to begin with)
but it's low 70's all week & clear :)

oh but you know what? I have these little
guys growing in my garden.....yep I do....
I'm sooooooo excited!!!

they are just starting to get bigger~
well for their small little baby -boo size
{love that name.....}


do you like the headboard above?
well it can be yours for a mere $348 at
Urban Outfitters

OR

you can do it yourself for approx $20 give or take
depending on your fabric choice!!

let's get started!

first off run down to your local home improvement store (or into your garage) and get a sheet of 1/4 inch
plywood ~ I got lucky because they had mis-cut pieces in a stack for $1 each!!! so I spent a dollar on it.

 now you need to come up with your shape
and make a pattern on a big piece of paper.

I just took some paper and made an outline of my daughter's headboard (which is a twin), I traced just one side of her headboard and then added a bunch of length to go across the middle and folded it in 1/2 and cut the other side.  I have to admit ~ this phase took me the longest~ it was a little tricky getting the exact shape ~ but you can do it!!


so here we have the shape....now tape it to your
plywood (which is on a couple sawhorses right now hopefully) and trace around the paper the outline
of the headboard.

Next get out your trusty jigsaw
(very easy to use for this, btw, so don't get intimidated!!!)


and cut your shape....
seriously that was the easiest part of the whole thing!!!


 next you're going to draw your lines and mark little x's for the holes, where your tufts will be.

this is where a straight edge comes in
very handy......


once you've got them all marked and you like the pattern....it's time to drill the holes....


now for the soft stuff....you can put away all your tools and move out of the garage!!


oh did I say put away your tools?
how about just the power tools ~

go ahead and grab a staple gun
and start attaching your batting....

I just wrapped it around the edges
and stapled it to the back.


now that you have all the batting on it's time
to put on your fabric...

Lay the fabric wrong side up on the floor
and lay the headboard on top (right side down)

then pull the edges snug and
 staple the fabric in place.

here's what it will look like now,
minus the few tufts I already have in place

wow ~ nice blurry picture....sorry guys!


ok the tufting.....the hardest part of the project
unfortunately....
wear gloves!!

so you don't get a big swollen red
finger like so.......


first you need to decide if you want
covered buttons, or what but
for me I went with little squares of fabric
about 1 inch by 1 inch and just centered them over the hole and threaded through it so it would have kind of a raw edge ~ raggy feel.

if you would like a quick hot glue gun method
for covered buttons check out this post

did I mention using a heavy twine-ish kind
of thread?  And a heavy upholstery-ish
kind of needle?

all available at our only fabric store in town, trusty local fabric store,
where they offer nothing but the best customer *cough*cough*
service....


so thread the button through with your big ole
upholstery needle (they're about 3-4 inches long)

and pull it  t  i  g h  t....
this is where the gloves come in....

and staple it in place....several times....
keep going until you've done them all

or until you decide you don't like the shape of the headboard or the fabric (now I would never........)


and start over......


really?


is she kidding us?


no.


not really.


not kidding that is....


cuz you know this is my room ......

and most of you know me well enough
to know that I just might be that insane

{you can read about the transformation


but I didn't like the shape,
or the fabric....


so..............


 off I went to my local home improvement store
to get yet another piece of scrap plywood......


luckily got it for a buck so Mr. T & T
didn't shoot me (his words!!)


and created a slipcovered headboard

like this....


so the moral of the story is.....

"if you don't like it the first time ~
throw it out & start over!!"


next time I'll show you a quick tutorial
on the slipcovered headboard ~
it was actually pretty easy :)


well girls~


time


to


make


the


pillows....


you have to imagine that old donut commercial
"time to make the donuts...."
hee hee.....:)


anyway,
 talk soon my wonderful
bloggy friends!


xoxoxo,


Shellagh


{image 1 urban outfitters, 2 country living, the rest by me!}

Blog Widget by LinkWithin