hello there!
can you say, "smells like fall around here?"
yep, it does......
rats.......
I need to get over it....
2 more days & the kids are
back in school...
double rats......
anyhoo.....
the weather is lovely but cooling off for sure
(well it's not like it was blazing hot to begin with)
but it's low 70's all week & clear :)
oh but you know what? I have these little
guys growing in my garden.....yep I do....
I'm sooooooo excited!!!
they are just starting to get bigger~
well for their small little baby -boo size
{love that name.....}
do you like the headboard above?
well it can be yours for a mere $348 at
Urban Outfitters
OR
you can do it yourself for approx $20 give or take
depending on your fabric choice!!
let's get started!
first off run down to your local home improvement store (or into your garage) and get a sheet of 1/4 inch
plywood ~ I got lucky because they had mis-cut pieces in a stack for $1 each!!! so I spent a dollar on it.
now you need to come up with your shape
and make a pattern on a big piece of paper.
I just took some paper and made an outline of my daughter's headboard (which is a twin), I traced just one side of her headboard and then added a bunch of length to go across the middle and folded it in 1/2 and cut the other side. I have to admit ~ this phase took me the longest~ it was a little tricky getting the exact shape ~ but you can do it!!
so here we have the shape....now tape it to your
plywood (which is on a couple sawhorses right now hopefully) and trace around the paper the outline
of the headboard.
Next get out your trusty jigsaw
(very easy to use for this, btw, so don't get intimidated!!!)
and cut your shape....
seriously that was the easiest part of the whole thing!!!
next you're going to draw your lines and mark little x's for the holes, where your tufts will be.
this is where a straight edge comes in
very handy......
once you've got them all marked and you like the pattern....it's time to drill the holes....
now for the soft stuff....you can put away all your tools and move out of the garage!!
oh did I say put away your tools?
how about just the power tools ~
go ahead and grab a staple gun
and start attaching your batting....
I just wrapped it around the edges
and stapled it to the back.
now that you have all the batting on it's time
to put on your fabric...
Lay the fabric wrong side up on the floor
and lay the headboard on top (right side down)
then pull the edges snug and
staple the fabric in place.
here's what it will look like now,
minus the few tufts I already have in place
wow ~ nice blurry picture....sorry guys!
ok the tufting.....the hardest part of the project
unfortunately....
wear gloves!!
so you don't get a big swollen red
finger like so.......
first you need to decide if you want
covered buttons, or what but
for me I went with little squares of fabric
about 1 inch by 1 inch and just centered them over the hole and threaded through it so it would have kind of a raw edge ~ raggy feel.
if you would like a quick hot glue gun method
did I mention using a heavy twine-ish kind
of thread? And a heavy upholstery-ish
kind of needle?
all available at our only fabric store in town, trusty local fabric store,
where they offer nothing but the best customer *cough*cough*
service....
so thread the button through with your big ole
upholstery needle (they're about 3-4 inches long)
and pull it t i g h t....
this is where the gloves come in....
and staple it in place....several times....
keep going until you've done them all
or until you decide you don't like the shape of the headboard or the fabric (now I would never........)
and start over......
really?
is she kidding us?
no.
not really.
not kidding that is....
cuz you know this is my room ......
and most of you know me well enough
to know that I just might be that insane
{you can read about the transformation
but I didn't like the shape,
or the fabric....
so..............
off I went to my local home improvement store
to get yet another piece of scrap plywood......
luckily got it for a buck so Mr. T & T
didn't shoot me (his words!!)
and created a slipcovered headboard
like this....
so the moral of the story is.....
"if you don't like it the first time ~
throw it out & start over!!"
next time I'll show you a quick tutorial
on the slipcovered headboard ~
it was actually pretty easy :)
well girls~
time
to
make
the
pillows....
you have to imagine that old donut commercial
"time to make the donuts...."
hee hee.....:)
anyway,
talk soon my wonderful
bloggy friends!
xoxoxo,
Shellagh
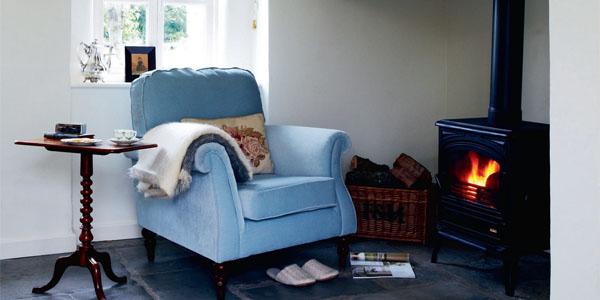
{image 1 urban outfitters, 2 country living, the rest by me!}